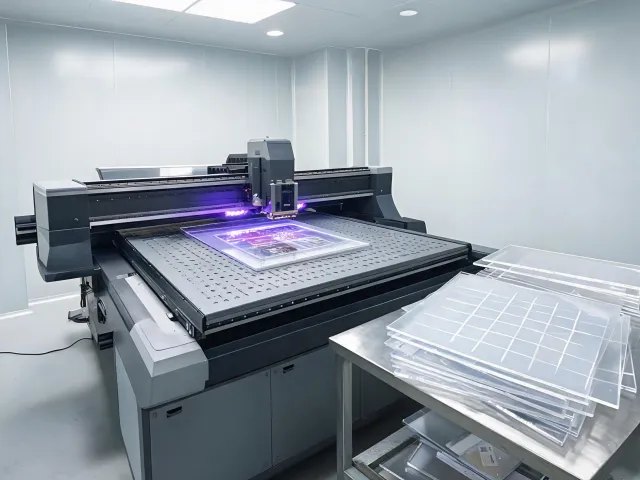
Rigid and dimensional
UV Printing
Start with surface energy, primer policy, ink layer height, cure exposure and the final adhesion method. Flatness and fixture clearance belong in the same record.
Review UV categories →Material first. Machine second.
Bring the substrate, viewing distance, finishing route and monthly volume into one brief. Mutoh application planning then connects those facts to a wide-format print path without treating a brochure speed as finished production.
Model availability, ink configuration and published specifications must be confirmed in the current regional documentation.
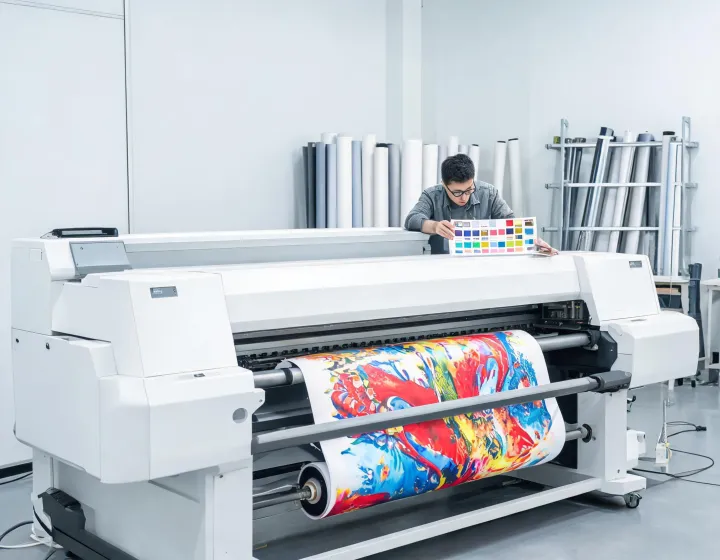
Three production paths
A model discussion becomes useful after the print team defines what must adhere, dry, cure, contour-cut or transfer. These categories organize that decision without substituting for a current model datasheet.
Start with surface energy, primer policy, ink layer height, cure exposure and the final adhesion method. Flatness and fixture clearance belong in the same record.
Review UV categories →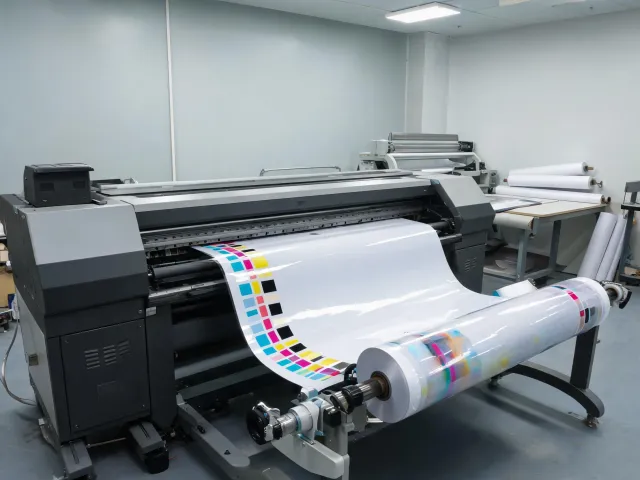
Qualify the media coating, heater window, outgassing interval, lamination schedule and cutting registration together. A fast pass that delays finishing may not shorten the job.
Review roll-media categories →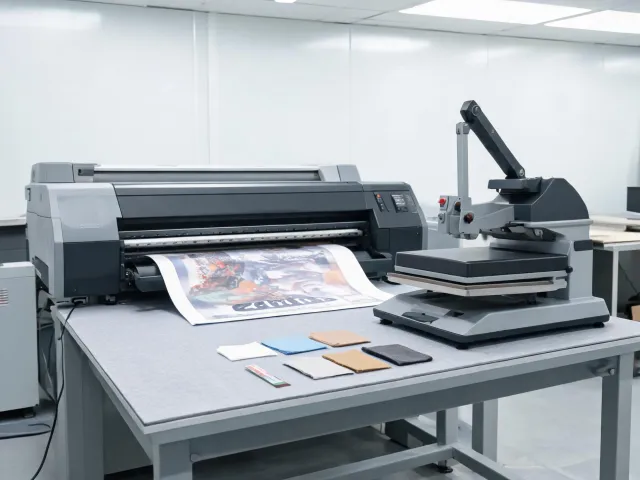
Record paper, ink load, transfer temperature, dwell, pressure and fabric lot. Color acceptance happens after transfer or curing, not while the image is still on carrier media.
Plan a transfer test →Applications in production language
Check viewing distance, solid-color uniformity, lamination timing, contour-cut alignment and outdoor exposure requirements.
Check part flatness, fixture repeatability, primer compatibility, edge adhesion and handling after UV cure.
Check transfer paper behavior, fabric lot, heat-press conditions, color after transfer and wash or rub evaluation.
Check substrate preparation, batch traceability, legibility at use distance, abrasion exposure and reprint controls.
A documented route to acceptance
This timeline describes a project method, not a claim about one machine. Each gate can be repeated with a dealer or application engineer using the same source file and identified material lot.
Record finished dimensions, substrate identity, preparation, expected viewing condition, quantity, finishing and the defect threshold that would stop delivery.
Run a nozzle check, identify the ink and profile revision, record environmental conditions and print a target containing solids, gradients, fine text and registration marks.
Apply the production cure, dwell, lamination, cutting or transfer sequence. Inspect the actual finished piece for adhesion, color, distortion, banding and edge behavior.
Repeat the run after a defined idle interval. Approve a physical reference, archive settings and assign ownership for any later media, ink, profile or finishing change.
Bring a real job
Share the material, finished size, required output, monthly volume and post-print steps. The response can focus on the missing evidence instead of a generic model list.